I asked my son what he wanted to do for his fourth birthday and he said “make concrete”! I suppose this was to do with my having waxed lyrical about how incredible concrete is. Stone! That you can make wherever you want, in any shape that you desire.
It’s quite easy to make concrete. A 60lb pre-mixed bag of cement, sand and aggregate costs just a few dollars and simply has to be mixed with water and poured out wherever you want it. However making concrete can be dangerous - wet cement can cause caustic skin burns and inhaling cement dust can cause nasty lung injuries. It’s not obviously a kid-friendly activity.
Nevertheless, I thought that with a suitable safety briefing, it was worth a try. We decided to make permanent concrete molds of the kids’ sand toys. The process was a huge amount of fun for all involved. Best described as equal measures jeopardy, mess and learning.
Steps
-
Being careful to keep kids away from the dust as you pour it out, mix concrete with water. The correct amount of water can be found on the data sheet for your mix - our 60lb bag of Sakrete needed 2.4 litres of water. I let my son stir the mixture so long as he didn’t touch it.
-
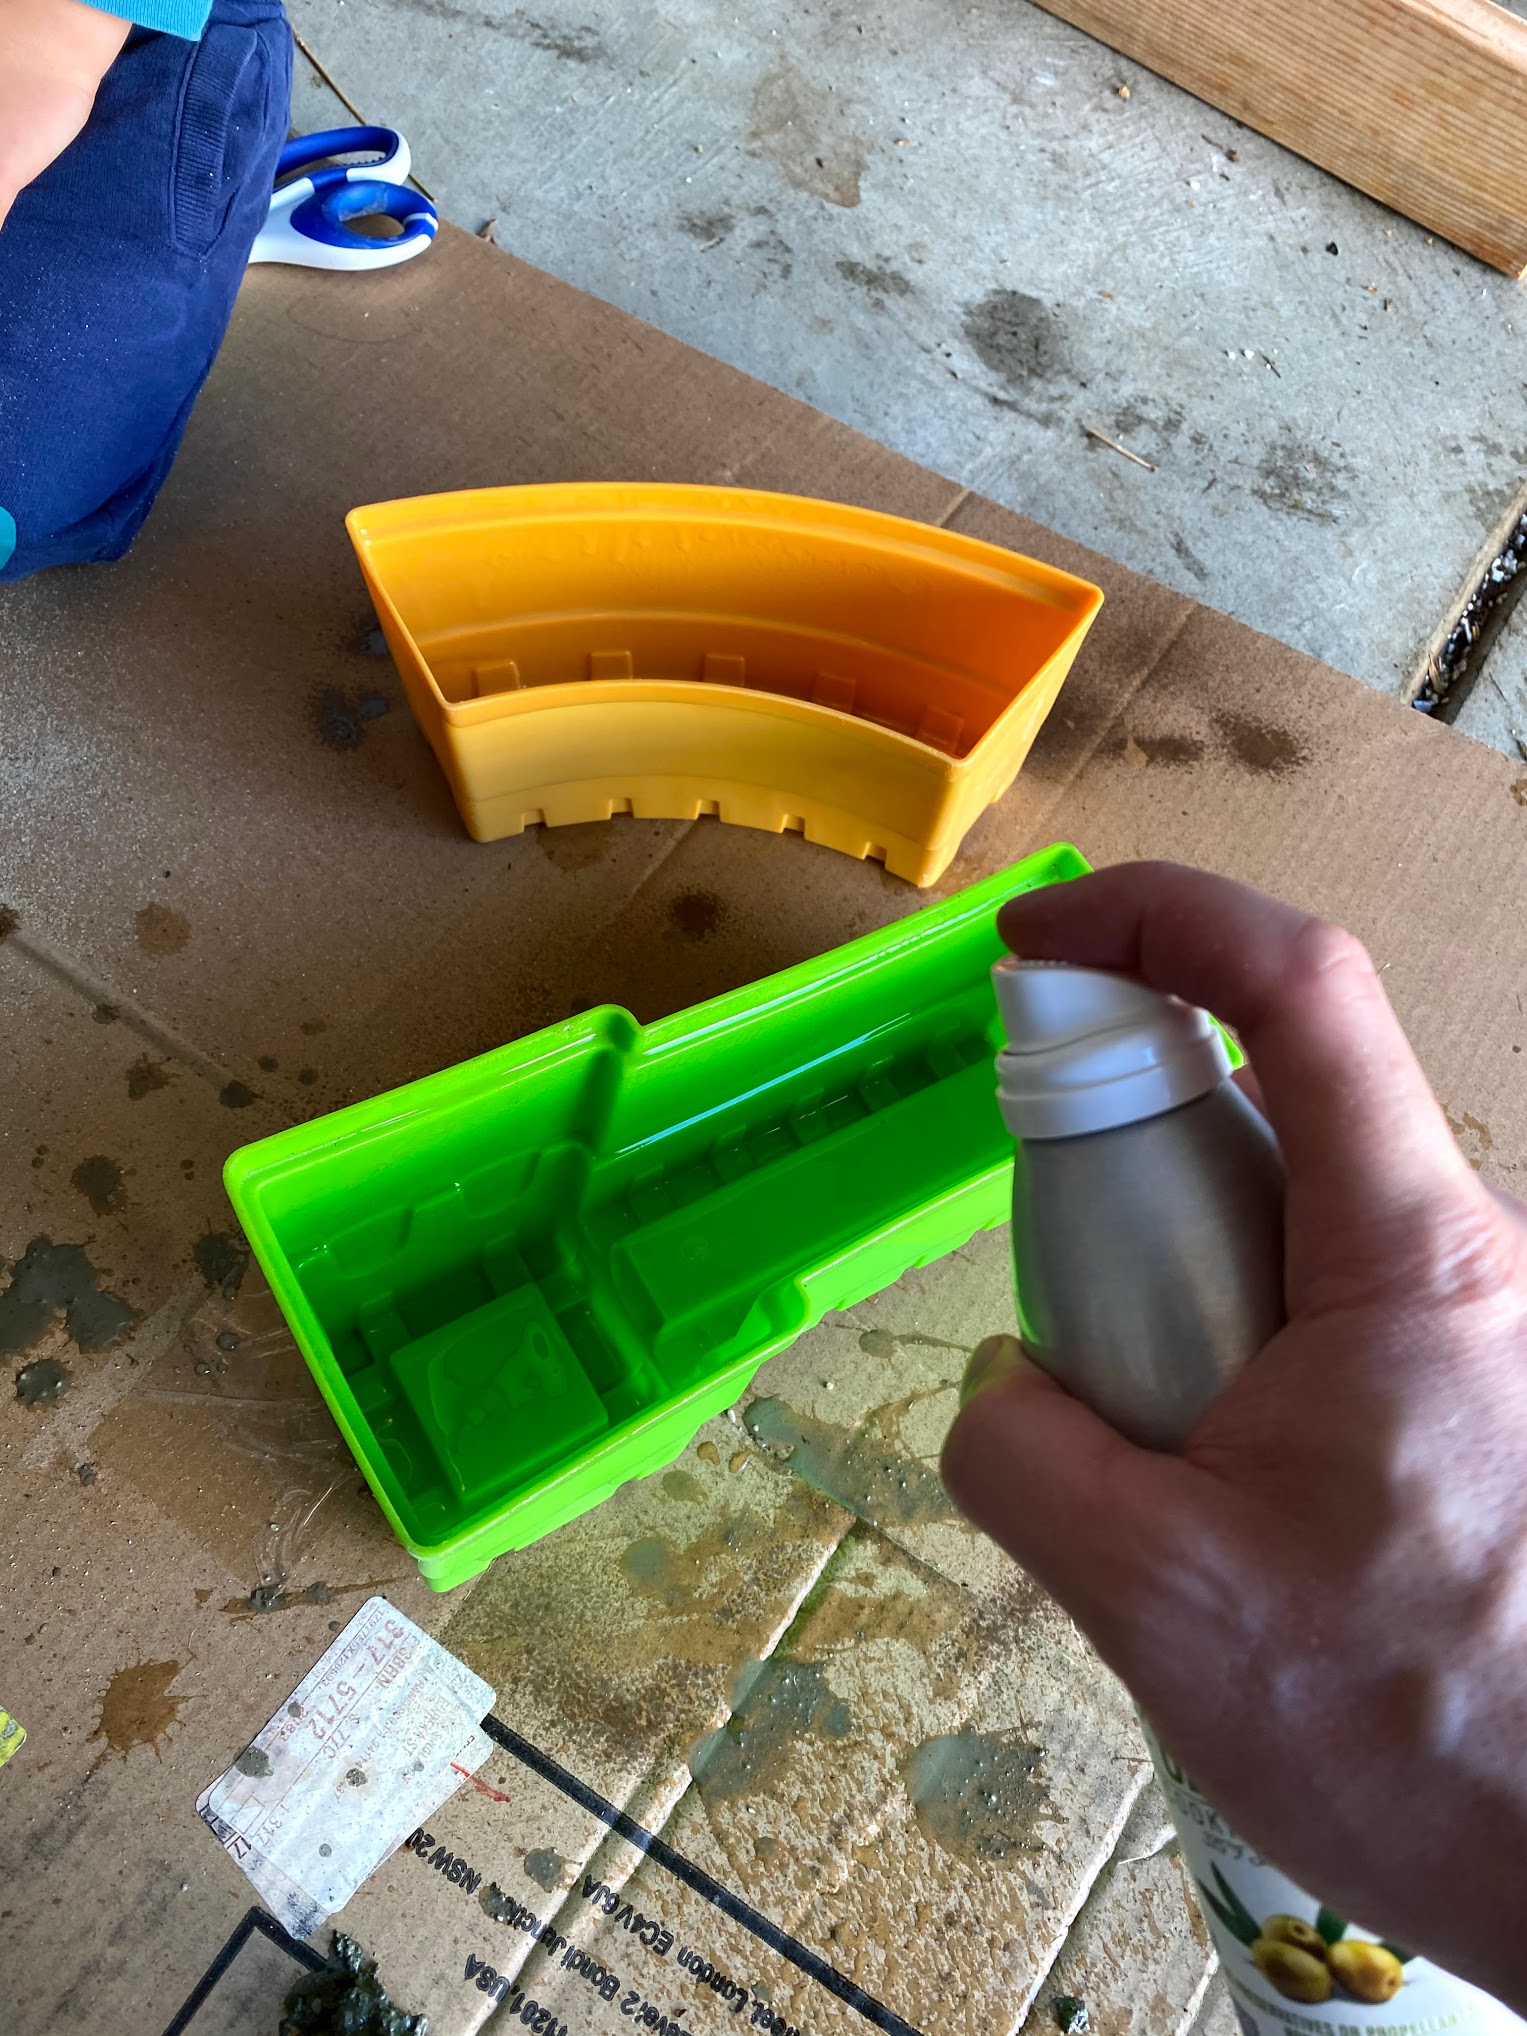
Spray the inside of sand toy molds with cooking spray.

-
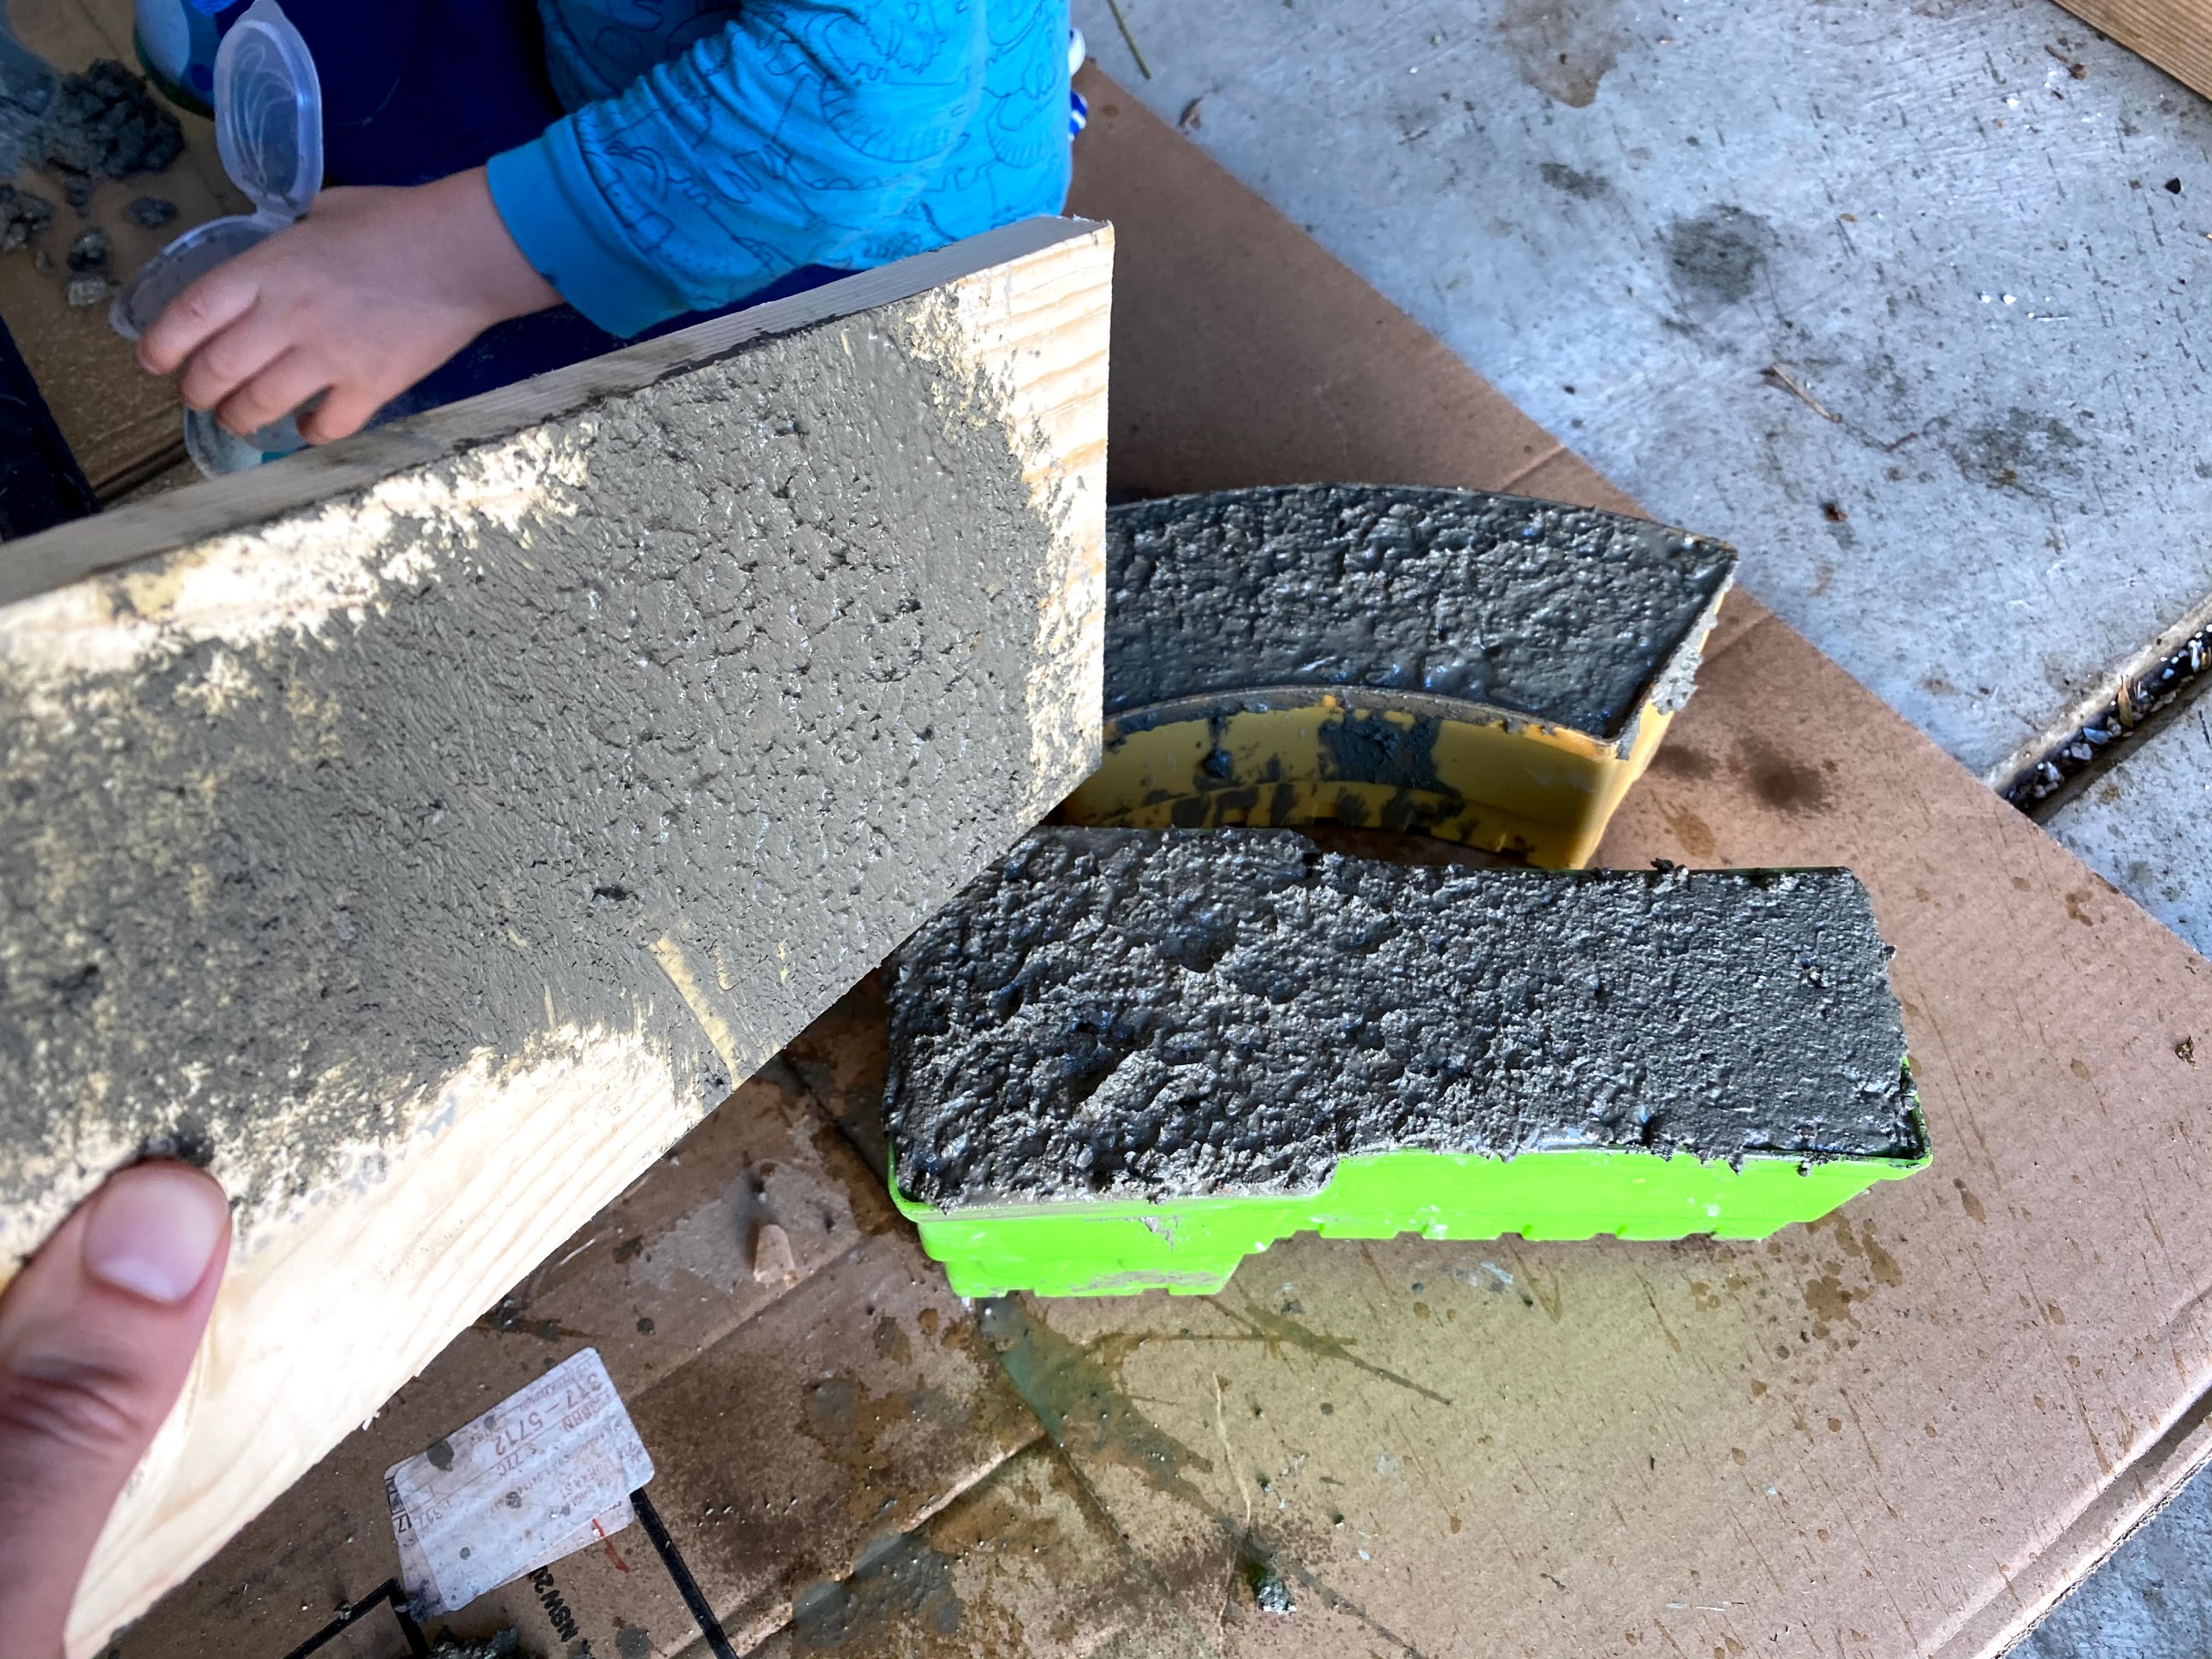
Pour the wet concrete into the molds (I used a small bucket to transfer the mixture).
-
Compact and level the concrete mix in the molds using a length of 2x4.

-
Leave for 24 hours to dry / cure
-
Tap out the molds… Tada! Concrete sandcastles.

Lessons learned
It’s tough to get the bigger bits of aggregate right in to the detailed parts of the molds. It is possible to add (quite a bit) more water to create a mix that flows better into those areas. I only figured this out on the third attempt. Next time I intend to use construction grout